
How to overcome your fear of taking a self-portrait?
As written by Manuela Thames, Instructor of ‘TELLING YOUR OWN STORY THROUGH SELF-PORTRAITURE’ workshop. Begins March 8th, 2021.

So many people have told me lately that the thought of taking a self-portrait terrifies them. It makes sense to me. It is vulnerable and we are all our own worst critic. When I look at pictures of myself that others have taken, I often think: “Is this really what I look like?” And here we are, judging ourselves on the details that hardly anyone but us notices: I had no idea my nose was this big, my facial expression is weird, my hair looks crazy, my face isn’t symmetrical, and so on.
I think to get over our self-consciousness, it is helpful to understand what exactly a self-portrait is. Unlike the “selfie”, which focuses on the face, is taken casually and often takes a mere second to make, self-portraits are carefully composed and set up (at least most of the time) and do not have to show your face nor your full body, but could only show your feet, your arms, your legs, your upper body without your face and so on.
The beauty of self-portraiture is that it is entirely up to you.
The process of taking a self-portrait can sometimes take a long time from idea to execution, making sketches, coming up with a concept, thinking about location, props and clothing – many aspects of a self-portrait will often be carefully thought through. Being the sole creator of your work, you end up filling all these different roles, you are the director, the actor, the lighting expert, the makeup artist, the custom designer and the camera operator. To me this is a very fulfilling and exciting process. Being the sole creator is the advantage of self-portraiture and at the same time the challenge. It isn’t easy to get things right when taking self-portraits. It takes patience and often lots of trial and error. But that’s ok. You are working on your own. Take as long as you need, especially when you first start out with it. To me the fun of self-portraiture lies in having freedom to experiment while nobody is watching.

Self-timer and a decent camera are truly all you need at first, even a phone camera is acceptable. A tripod makes things much easier, but if you don’t have one you can us a chair, a table, books or anything else where your camera can sit on without falling. That is how I started out.
I have compiled a few tips on how to start out with self-portraiture that will hopefully help you to overcome some of the fears:
1. Keep in mind: You don’t ever have to show the pictures to anyone.
It’s true, thinking about the fact that nobody has to see any of the pictures, helps me to enjoy the process more and let go of some inhibitions and takes some of the pressure.
2. Something that can be helpful before starting with self-portraiture is to look at pictures of yourself that you like.
We probably all have photos of ourselves that we don’t like very much, but I am sure there are some that we do like.
Look at those photos and think about what it is that makes you like them. How are you standing, or sitting, what position is your head in, are you looking directly in the camera
or are you looking down or to the side? Study those pictures, write down your observations and try to take similar ones.
3. You could simply start out by taking a self-portrait while looking in the mirror or another surface that reflects you (mirror is probably easiest).
Stand in front of your mirror and take pictures of yourself using different expressions and positions. It’s fine if the camera is in the picture as well. This is about getting comfortable photographing yourself and seeing what expression works and what doesn’t.

4. When you are ready to set up your tripod and camera, find a spot at home or outside (at home might be more comfortable at first) where you can position yourself.
Here are some examples and tips of what you could try:
- Sit on a windowsill and lean against the window while looking outside. Window light is a beautiful light source. Leaning against something helps your body to relax and not looking directly into the camera, helps your eyes to focus on something else.
- Change the angle of the camera, but stay in the same position. Shoot from the right, from the left, from below or from above.
- Leave the camera as is and change positions. Stand up, put your hand against the window, look in the camera, look away. The point is to try a variety of simple poses and angles. It will help you to get more comfortable with yourself and learn about your body and facial expressions. You will quickly realize what works for your and what doesn’t simply by experimenting this way.
- The big question when it comes to self-portraits is to figure out exactly how to get yourself in focus. Here is a simply way to do it if you don’t have a remote: As you are setting up and framing a shot of yourself, you can use and object to “stand in” for you (chair, vacuum cleaner, camera bag, plant), focus your camera and lock your focus so that the camera won’t accidentally focus on something else while you take the picture and make the area for your to stand on.
- Be careful when using a wide aperture. A wide aperture can enhance a shot by blurring the background, but it can be less forgiving in terms of focus since it’s easier for things to be blurred that you want to be in focus. Give yourself some leeway. I often set my aperture between 4.5 and 8. As with every picture, take a couple of test shots to make sure the focus and the exposure is just the way you want it to be.
Then you can set the camera to self-timer and give yourself enough time to get settled in the frame after pushing the shutter release.
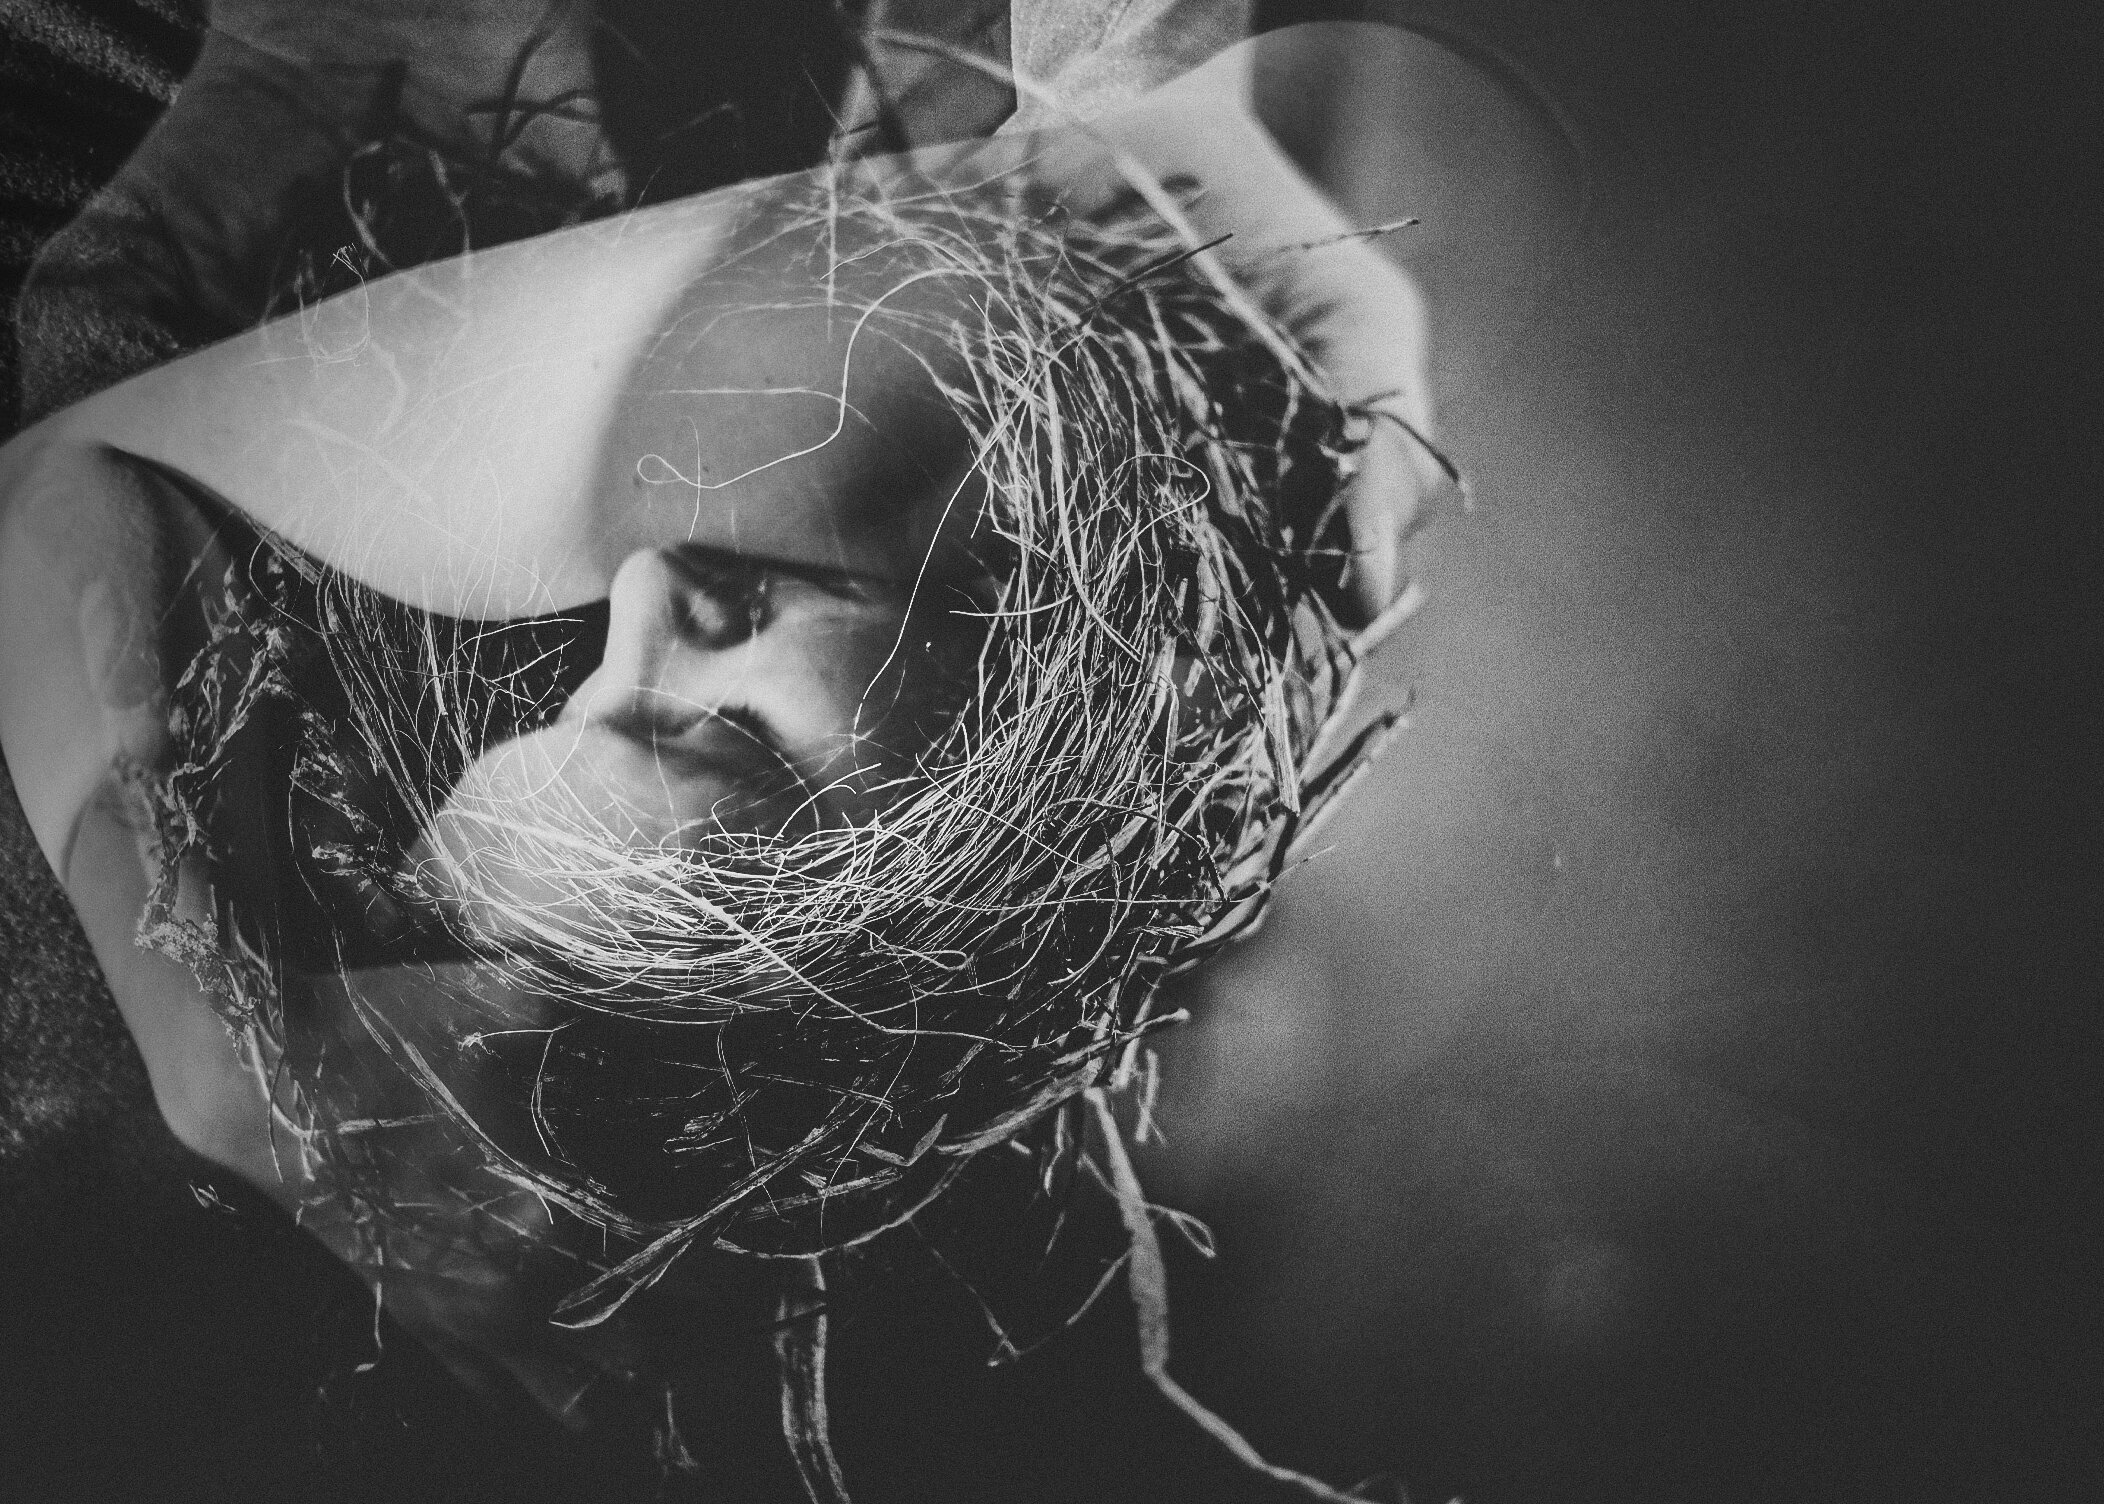
What’s so great about self-portraiture is that it’s not necessarily about taking a realistic representation of yourself, your face can be blurry or doesn’t have to be in it, your body doesn’t have to be fully in it. Self-portraiture is about using yourself to tell a story, but within that you can find lots of freedom.
If you are uncomfortable with your face at first, you can use a prop to cover it up or use your hands. You can partially hide behind something (a curtain, a plant, a book…) There are endless options.
The more you try and experiment, the faster you will figure out what you like and how you like yourself in pictures. And once you get there, you can start pushing yourself out of the comfort zone a little more and try something different. Try a full picture of your face directly looking into the camera. It can be super uncomfortable at first, but it will help you to get over some of the fears eventually.
5. Being comfortable in front of the camera is hard.
Doing self-portraiture can give you a better understanding of what your clients or models are going through, and it can help you be a help to them and guiding them through the process.
6. Something I often do when getting ready for a shoot is, I put on clothes that I feel good in, I wear some makeup and pay attention to my hair.
I often work in black and white, but nevertheless will often wear lipstick whether you can see my face in the picture or not, it makes me feel confident.
If you are interested in self-portraiture, but are too nervous about it, I encourage you to try it. The process is what it’s all about. The result is secondary. I truly believe this. You never know, self-portraiture might become your most favorite way to express yourself artistically.
And one last thing, you are never too young or too old, too tall or too short, too curvy or too skinny to take a self-portrait. Any photographer at any age is capable of expressing herself through self-portraiture and create a stunning piece of art.